
장바구니에 상품이 없습니다.
미분류
Underwater Photography Course in Seoul: What It Should Actually Teach You
01
9월
9월
Underwater Photography · Seoul
An Underwater Photography Course in Seoul,
and What It Should Actually Teach You
The picture is decided before the camera comes out of the case. Almost everything that matters is a diving skill.
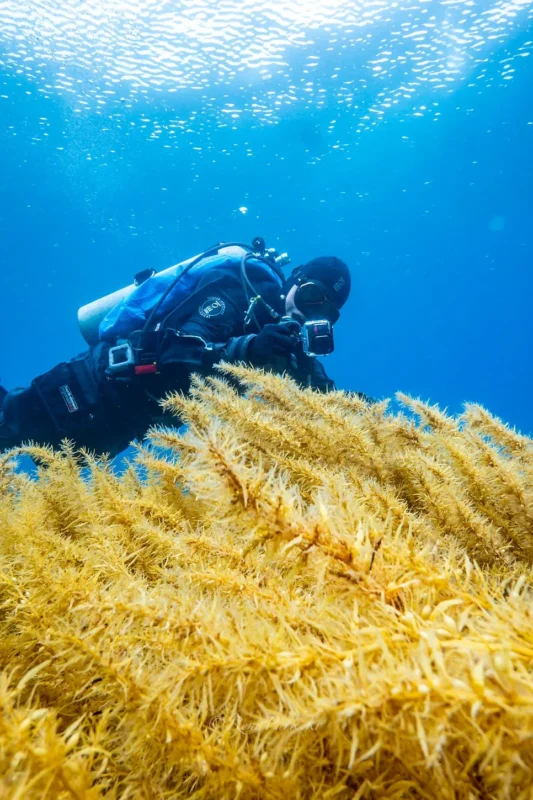
the diver holding the housing
A Camera Is a Diagnostic Tool
Before It Is a Creative One
The first thing a camera does underwater is tell you the truth about your diving. The reason is that a housing occupies both hands, fixes your eyes on a screen and adds a task that competes with everything else you are supposed to be doing. Divers who felt completely settled the week before suddenly drift up two metres without noticing, plant a fin in the silt to steady themselves, or surface having lost track of where their buddy went. None of that is a photography problem, and no camera upgrade will fix any of it.
Which is why the honest way to judge an underwater photography course in Seoul is not by the gear list. It is by how much of the course is spent making you a steadier diver.
before framing, before settings
Control Comes
Before Composition
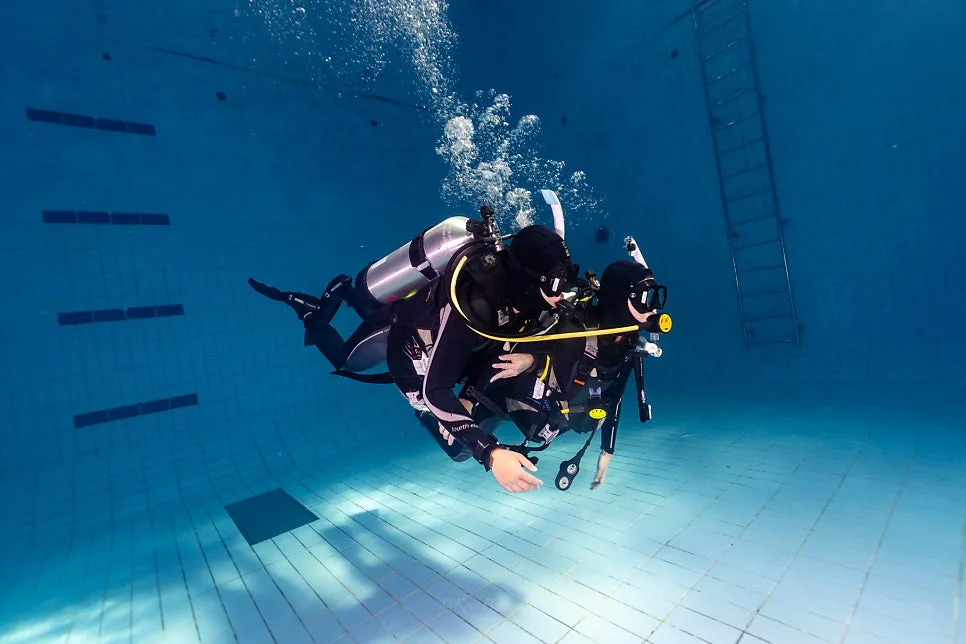
The first skill a good course teaches is holding still, not framing. The reason is that everything a photographer wants — focus that locks, a horizon that stays level, an animal that does not flee — depends on the diver being genuinely motionless first. A diver who cannot hold depth within half a metre will chase focus all dive. A diver who sculls with their hands will nudge themselves out of the frame they just composed. A diver breathing hard after swimming down a subject will produce twenty rushed images instead of one considered one.
So the practice is unglamorous and it is the whole course: get neutral, stop, hover without hands, hold position while the other hand does something unrelated. Only then does the camera get switched on.
There is a sequence worth learning until it runs by itself. Establish neutral buoyancy. Check where you are relative to the bottom, the reef, your buddy and the current. Confirm you have room to approach without touching anything. Then frame, take the image, and look away from the screen again. That last step is the one photographers drop first and regret most, because gas, depth, no-decompression limits and buddy contact remain the priorities on every dive, camera or not. If any of that still feels effortful, the honest next step is skills work rather than a specialty — the progression routes are laid out on our level up page.
why we teach it in this order
Learn It Slow,
Keep It Forever
Adding a camera to a diver who is not ready for one produces frustration rather than photographs, so we do not do it. Diving is our culture rather than a product line, which is why our courses are built around how long a skill takes to become permanent instead of how quickly a card can be issued. Not for everyone, only for you — that is also why we will tell a diver to spend a day on buoyancy before we sell them a specialty.
26Years accident-free since 2000
5,910Divers certified & counting
976Dive pros trained
For divers who are not Korean, the practical detail matters more than the philosophy: our dive professionals communicate in English, as well as Korean and Japanese, so the briefing, the settings discussion and the image review afterwards all happen in a language you can ask precise questions in. We are a PADI 5-Star Career Development Centre with our own centre in Songpa, Seoul, we teach in small groups of one to three, our staff instructors each carry ten years or more of teaching, and much of our teaching and consulting team is women-led. On a camera course the individual feedback is most of the value, so the size of the group is not a detail.
the one setting that is not on the camera
Distance Is Your
Most Powerful Control
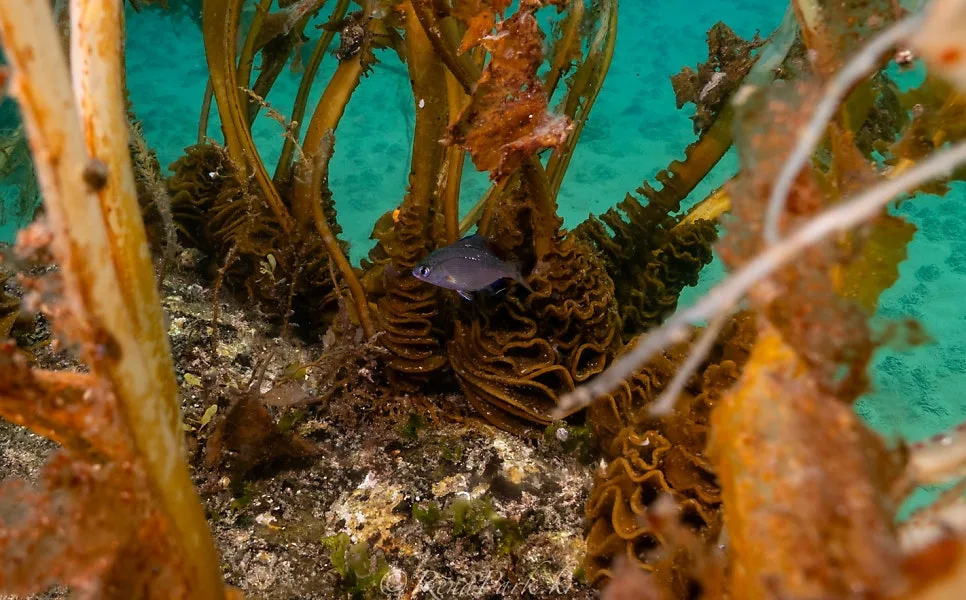
Water removes colour, contrast and apparent distance, so how close you get matters more than any dial on the camera. The reason is simple physics: every centimetre of water between the lens and the subject strips warm light and adds suspended particles to the image. A red fish at three metres photographs grey. The same fish at forty centimetres photographs red, with no change in settings at all. Backscatter follows the same rule — the less water your strobe has to light, the fewer particles it lights up.
Getting close, though, is a diving skill again rather than a photographic one. It means approaching slowly enough that the animal does not register you as a threat, holding position without bracing on anything, and accepting that some subjects will not allow it today. A stressed animal does not make a good photograph regardless of how sharp the file is, and a fin-kick that clouds the water has already ended the dive’s best frames.
Angle does the rest of the work. Shooting slightly upward separates the subject from the seabed and puts blue water or sunlight behind it; shooting downward, which is what everyone does at first, buries the subject in sand and rock. Get low when it is safe to do so, fill more of the frame than feels natural, and let the water be the background rather than the obstacle.
shooting where you actually dive
Korean Water Asks a
Different Set of Questions
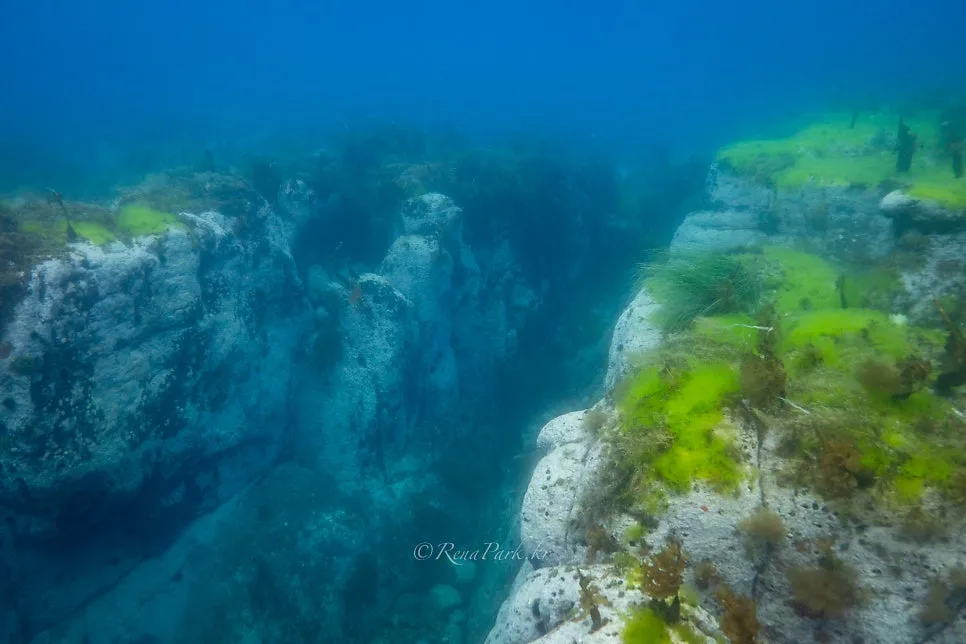
A course that only prepares you for clear tropical water leaves you stuck at home, which is the wrong way round. The reason is that Korean conditions change with season, site, current and temperature far more than a warm reef does, so the diver who learns here has already solved the harder version of the problem. Green water in spring demands a much shorter subject distance. A thermocline changes both the light and your own comfort mid-dive. Cold hands make small controls genuinely difficult, and thick gloves make them worse.
Those are all trainable, but only if the training happens in the same water. A pool session builds the camera habits; the coast is where they either survive contact with reality or do not. The seasons, sites and conditions worth planning around are set out on our dive Korea page.
Learn to make an image in five metres of visibility and you will never again be dependent on a perfect day. That, rather than a portfolio of blue-water photographs, is what a course run in Korean water is actually giving you.
what to bring, honestly
The Best First Camera Is the One
You Will Actually Carry
Equipment should follow your diving, not lead it. The reason is that every addition to a rig is also an addition to your task loading, your drag and your entry procedure, and none of those improve your images. An action camera teaches framing, steady movement and video pacing with almost no penalty. A compact gives real control over stills without much bulk. A mirrorless or DSLR system produces the best files and asks for the most discipline — more preparation, more maintenance, more that can go wrong on a shore entry in surge.
Buying a large rig because it looks professional is the most common and most expensive mistake in this specialty. Start with equipment you can operate one-handed while distracted, then expand once you know which limitation is actually holding your images back.
Exposure to the water matters as much as exposure on the camera, incidentally: a photographer holds still for long periods and gets cold far faster than a diver who keeps swimming. Training gear is available to rent, drysuit included, and a warm photographer takes better pictures than a cold one. Our own Fourth Element range is what most of our team dives in for exactly that reason.
choosing well
Judge the Course by
Its Water Time
The question that separates good camera instruction from a certification card is how many hours you spend shooting with an instructor watching. The reason is that photographic feedback is specific and personal in a way that a manual cannot be: why your image is blue, why your subject is soft, why your strobe lit the water instead of the fish. Ask how much in-water practice is included. Ask whether the instructor reviews your files with you afterwards, image by image. Ask whether the course adapts to the camera you own rather than the camera the centre sells.
Ask, too, whether the centre is willing to tell you to slow down. A specialty is worth having only if you leave able to use it without supervision, and the way costs are structured should make that easy rather than expensive — an instructor’s day divided by the small number of people sharing it, plus certification and materials. Stop partway through and you are billed only for what you actually did, with the rest refunded. You can work the combinations out yourself on our pricing page, and if you are not certified yet, start diving comes first.
Your first underwater photographs will contain too much water, a cropped fin and a fish that has already left. Keep the ones that teach you something, notice what happened in the thirty seconds before each miss, and come back with one intention rather than ten. The goal is not to be a diver who carries a camera — it is to be the diver who can stop, breathe, leave the reef untouched, and recognise the frame worth waiting for.
Tell Us What You Are Shooting With
Send us your camera, your log count and the kind of images you want to make, and we will tell you honestly whether a photography specialty is the right next step or whether a day on buoyancy would do more for your pictures. A consultation is free, needs no registration to ask, and comes with no pressure and no upselling.
good to know
Underwater Photography Course in Seoul — Common Questions
What certification do I need before an underwater photography course?
An Open Water Diver certification is the entry requirement, and comfortable buoyancy is the real one. If you still find yourself using your hands to hold position, we will suggest working on that first — it makes the photography course far more productive and far less frustrating.
Do I need an expensive camera to start?
No. An action camera or a compact in a housing is enough to learn distance, angle, light and the habit of shooting deliberately. Large rigs add drag, handling problems and task loading, and none of that improves an image taken by a diver who is not yet steady. Bring what you own and we will teach around it.
Why are my underwater photos always blue or green?
Because water absorbs warm light with distance. The fix is almost always to get closer rather than to change a setting, though white balance and, in deeper or darker water, artificial light both help. The order matters: reduce the water between lens and subject first, then correct what is left.
What causes backscatter, and how do I stop it?
Suspended particles lit by your own light source. Shortening the subject distance, moving strobes or lights outward and slightly behind the lens plane, and keeping your fins clear of the bottom all reduce it. In low visibility, natural light close in often beats artificial light at range.
Can I take the course in English?
Yes. Our dive professionals communicate in English, as well as Korean and Japanese, so briefings, settings discussions and the image review afterwards all run in English. Camera instruction is detailed and full of small corrections, so being able to ask precise questions in your own language changes how much you take away.
Is Korean water good for underwater photography?
It is demanding, which makes it excellent training. Visibility, temperature and light change through the year, so you learn to solve problems that a clear tropical reef never presents. Divers who learn to make images here find the tropics straightforward afterwards.
How cold does it get, and what should I wear?
Photographers hold still for long stretches and get cold faster than divers who keep moving, so plan warmer than you would for a normal dive. Outside the warm months a drysuit turns the coastline into a year-round option. Training gear is available to rent, drysuit included.
How many people are in a course?
One to three. On a camera course the individual feedback is most of the value, because the correction you need is rarely the correction the diver next to you needs. Small groups also mean the pace follows you rather than a timetable.
How is the cost of a specialty course worked out?
An instructor’s day is the unit, divided by the small number of people sharing it, plus certification and materials. If you stop partway through, you are billed only for what you actually did and the rest is refunded. The combinations are all on our pricing page.
I have more questions before I book. Where do I start?
Read through the common questions on our FAQ page, then message us with your camera and your log count. A consultation costs nothing and needs no registration, and we would rather tell you to wait a season than sell you a course you are not ready to use.
← PreviousEast Sea Diving in Korea: Reading the Clear-Water SeasonNext →What Causes Scuba Ear Pain During a Dive?
